
Dear Stella Spring Line and an Hourglass Tutorial

The weather this past week has been pretty much glorious, so I won't lie - I haven't spent a lot of time sewing. I think after the winter that didn't want to end, the kids and I have been taking full advantage of beautiful, sunshine filled days. Because we all know, here in Chicago it won't last. lol
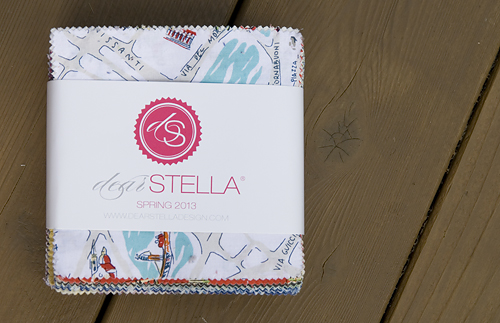
I recently received a little surprise package from the Dear Stella team, containing a 5" charm of every print in their Spring 2013 line. How cool is that?
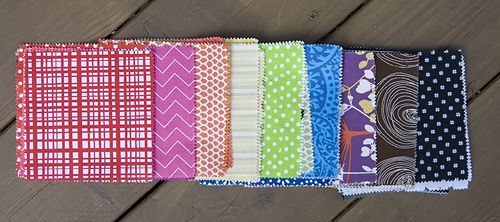
I went through the fabrics, it's a huge variety of style and color. So when I started thinking of what I'll end up doing with this stack, I knew it needed to have a simple, scrappy feel to it. I think I'm going to make an hourglass quilt, potentially with various shades of neutrals as the background.
Hourglass Block Tutorial by Fresh Lemons Quilts : Faith
Many of you probably know how to make an hourglass block already. But there are also a lot of new quilters here, and since we don't come out of the womb knowing this block, I thought I'd share my technique with you today!
Hourglass Block Tutorial
Please note, all seams are 1/4″; Final block size 4″ unfinished
Cutting: We are going to make 2 blocks from (1) 5" print and (1) 5" solid.

1. Cut your (2) 5" squares diagonally, leaving you with (4) half square triangles (HST). Pair (1) print HST with (1) solid HST.

2. Sew your HSTs together along the longest edge. Press your seams towards the print.

3. Square your blocks to 4.5". Line the 45º line on your ruler up with the seam line.

4. Now cut your blocks diagonally in the opposite direction of your seam line. I like to line up the 45º line on my ruler with the edge of the block, as shown.

5. Take one of the halves from each of your blocks, and pair them together to form the hourglass. If you pressed your seams towards the print fabric in step 2, the middle seams should "lock" together, giving you a prefect match. Piece together.

6. If you are like me, you may need to trim up your blocks after you are finished to achieve the perfect 4" block. Line the 45º line on your ruler up with the seam line. Make sure the 4" markings on your ruler line up with the seam line in the opposite direction.

Congratulations! You've made your hourglass blocks!