Cart
0
Home
Shop
Journal
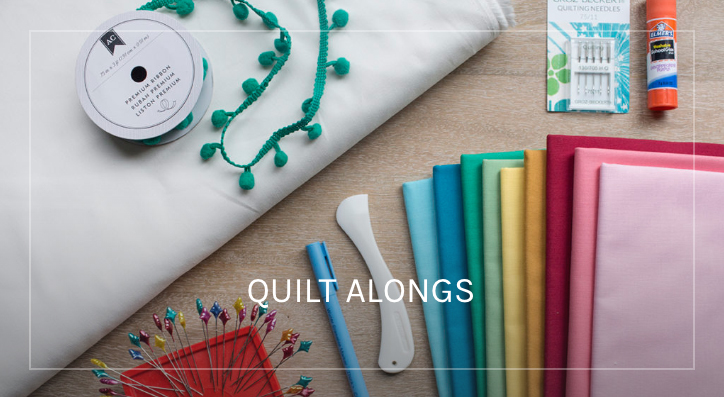
Quilt Alongs
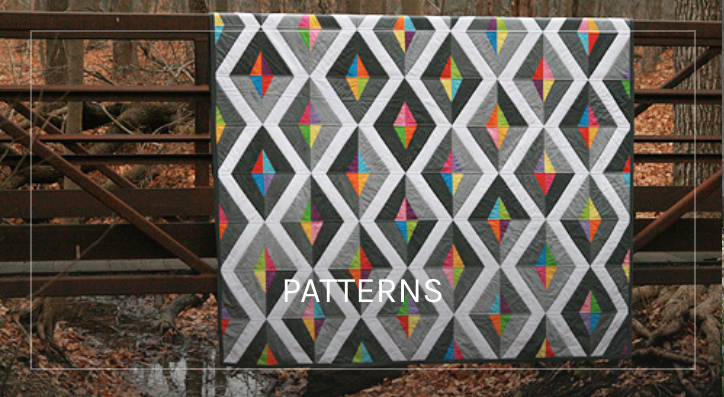
Patterns
Made
My Favorite Things
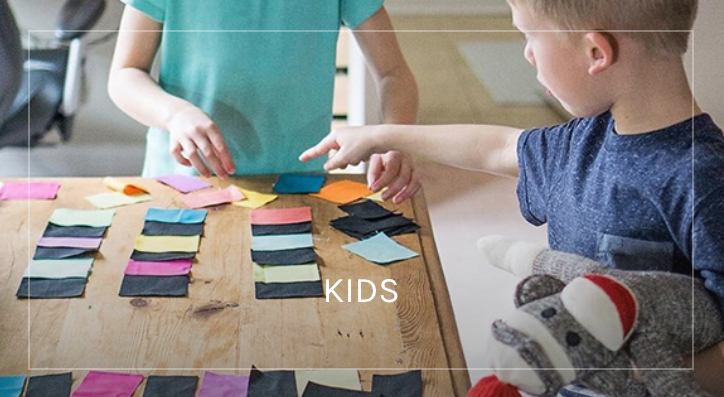
Community
About
Back
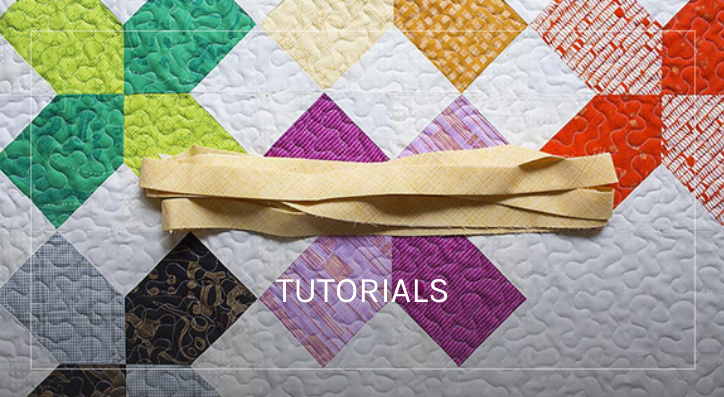
Tutorials
Build Your Own BOM
Errata
Back
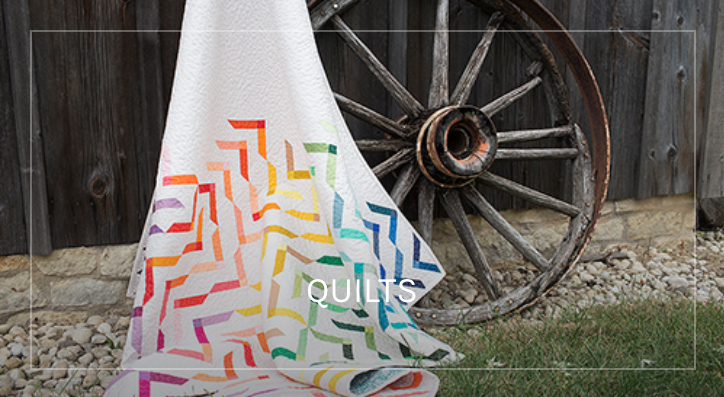
Quilts
Clothing
Bags
Back
Community Giving
Back
Contact
FAQ
Publications
Find Me
Wholesale
Cart
0
Home
Shop
Journal
Quilt Alongs
Patterns
Tutorials
Build Your Own BOM
Errata
Made
Quilts
Clothing
Bags
My Favorite Things
Community
Community Giving
About
Contact
FAQ
Publications
Find Me
Wholesale
Faith Jones
QUILT MAKER & PATTERN DESIGNER
Buy on Amazon
Technique Tutorial Videos
Sewing for the Seasons
Journal
Elementary Tote ~ A Tutorial
Petal Pusher
Halloween and the Art Institute
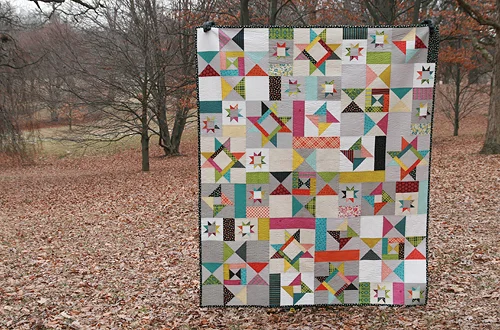
Nightshade ~ A Finished Quilt
Starfall II
An Heirloom Finish
A Friend For My Pillow
Glorious Autumn: Autumn Star
Poinsettia Pillow Goes to Quilt Camp
French Botanical Quilt Top
Latest Journal Entries
Journal
August 23, 2021
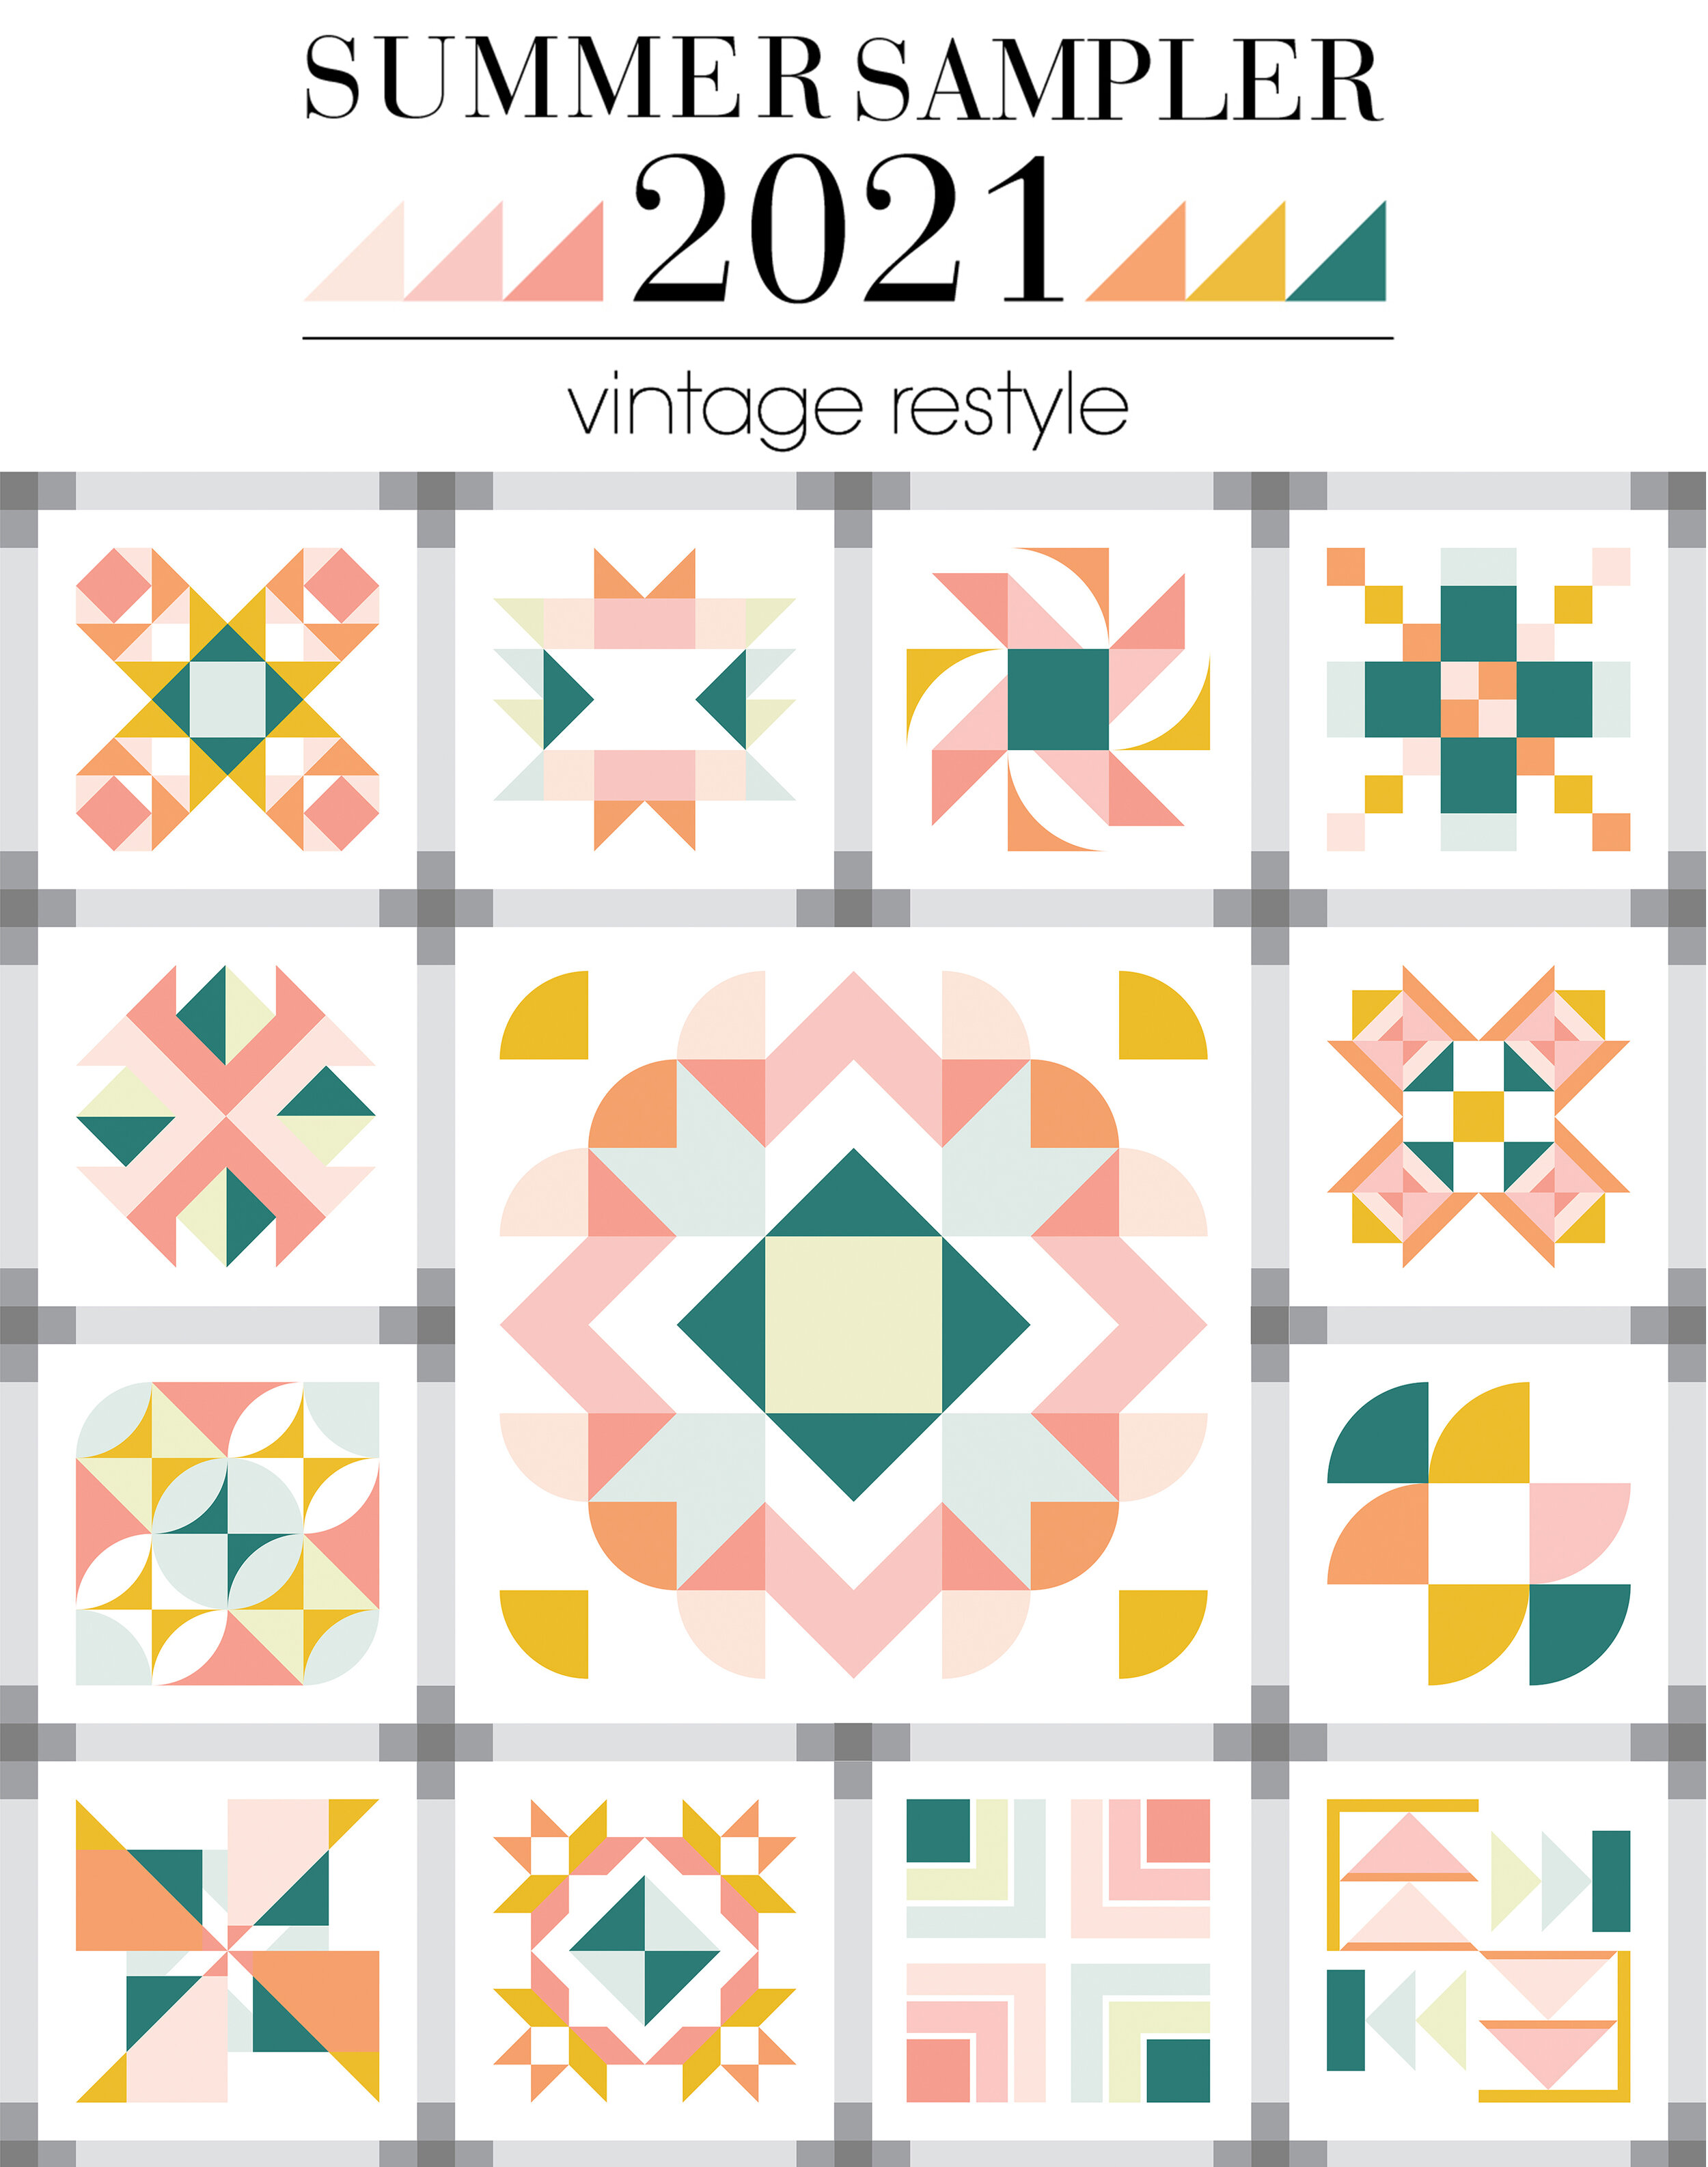
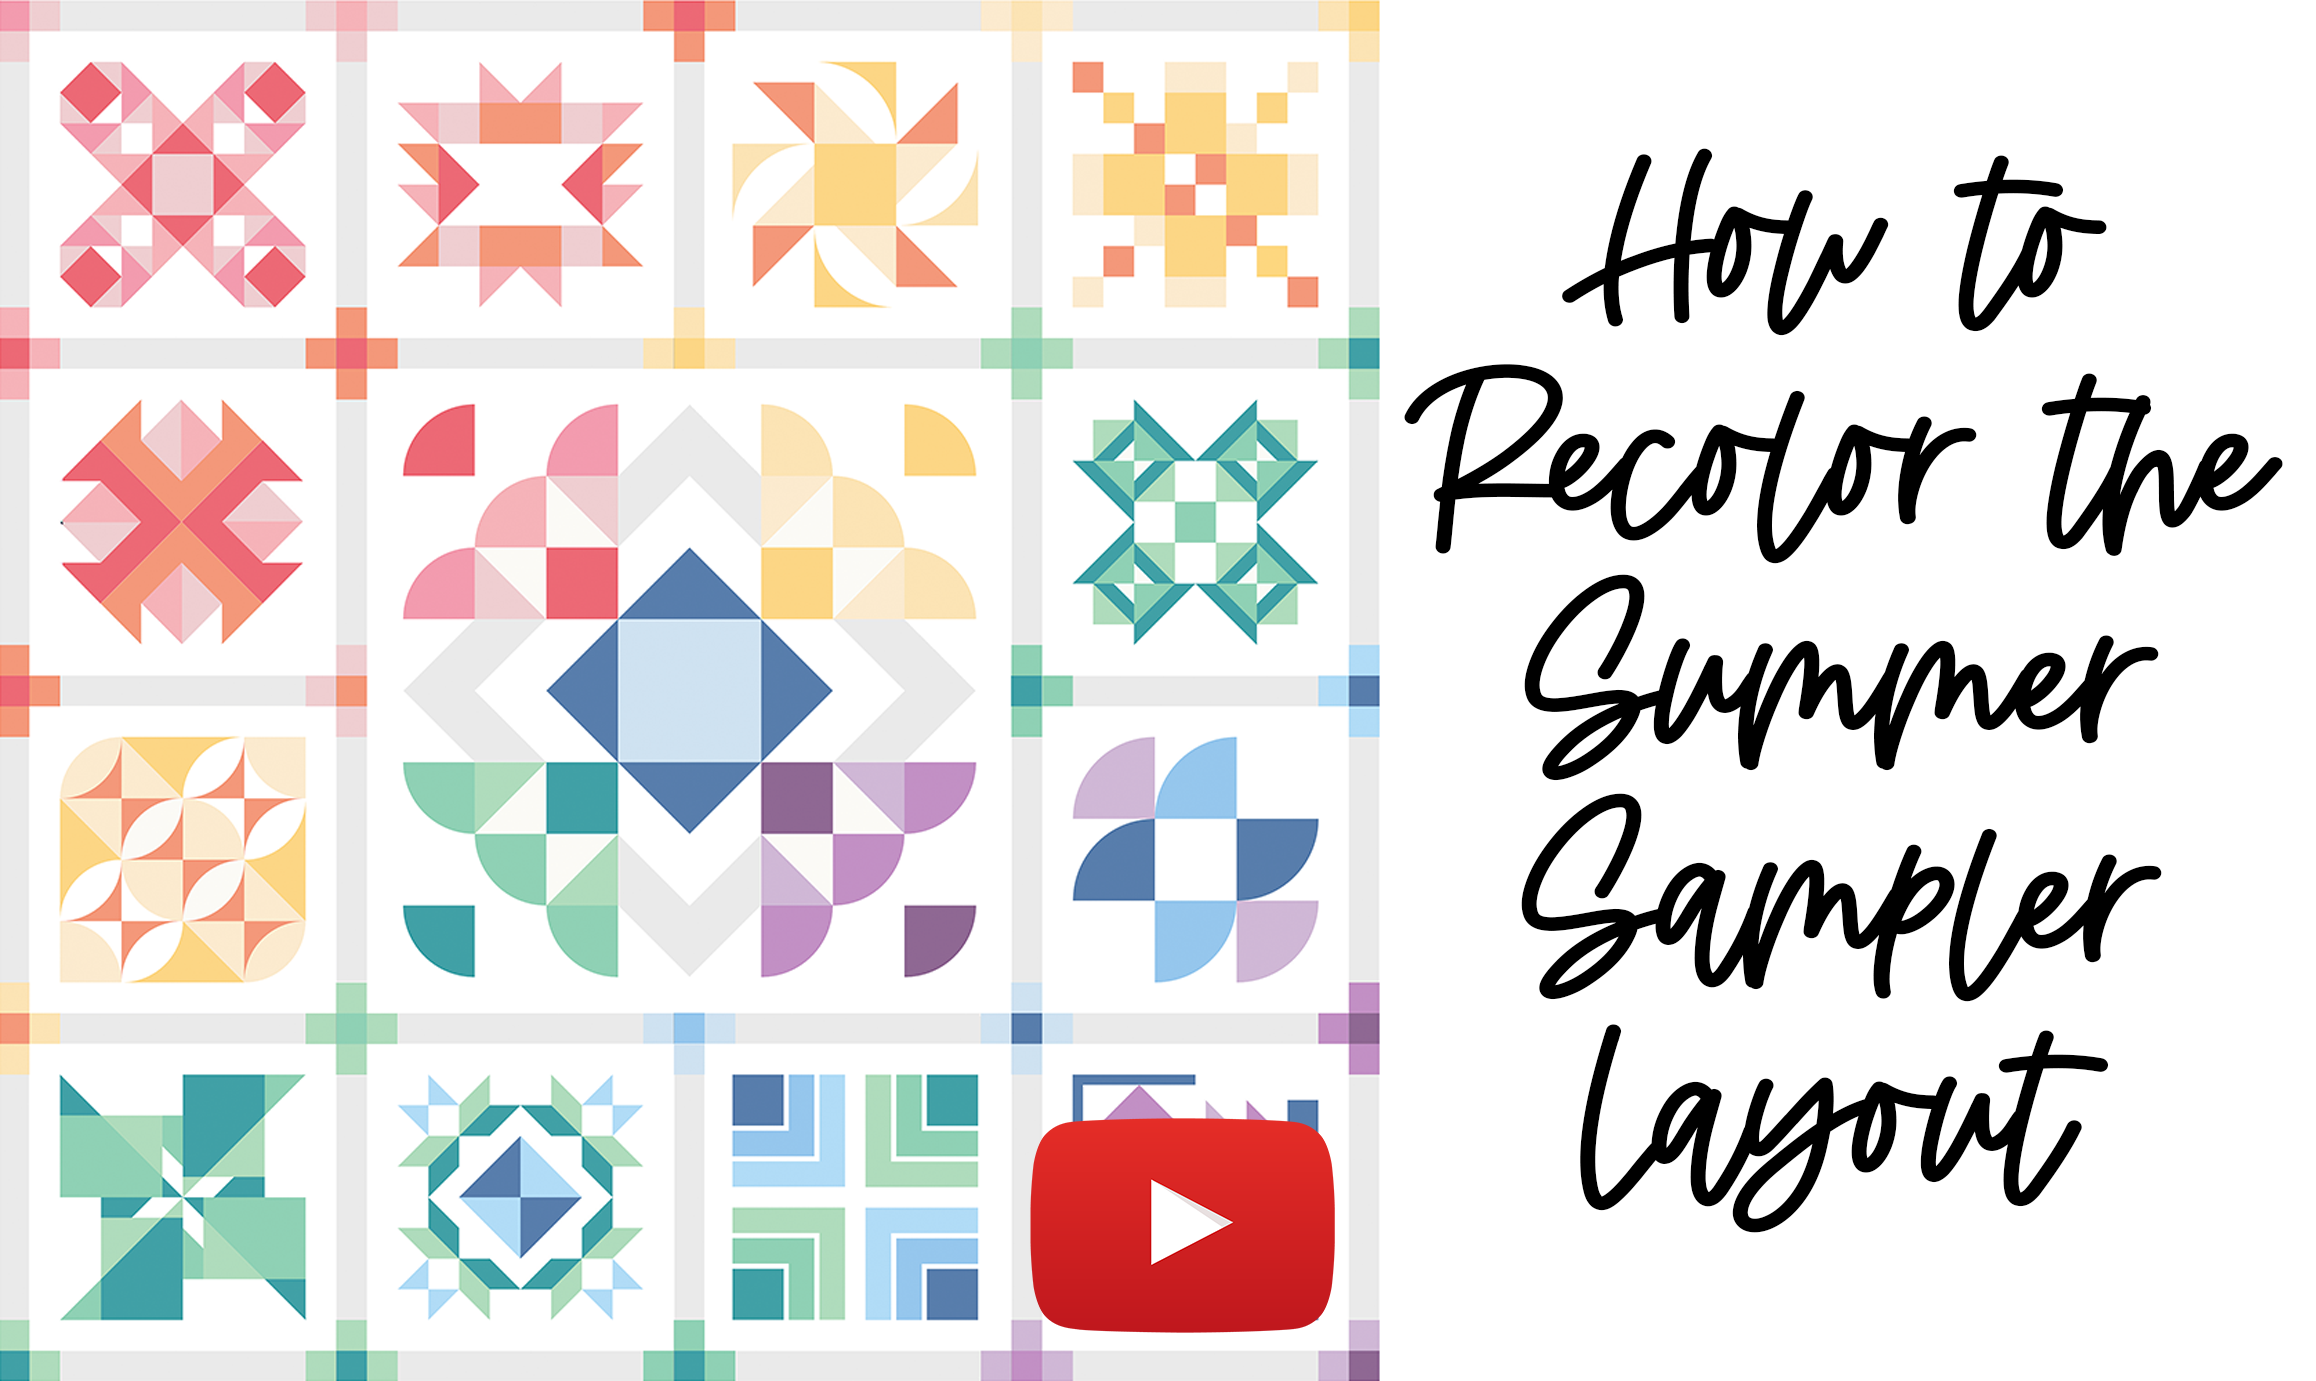
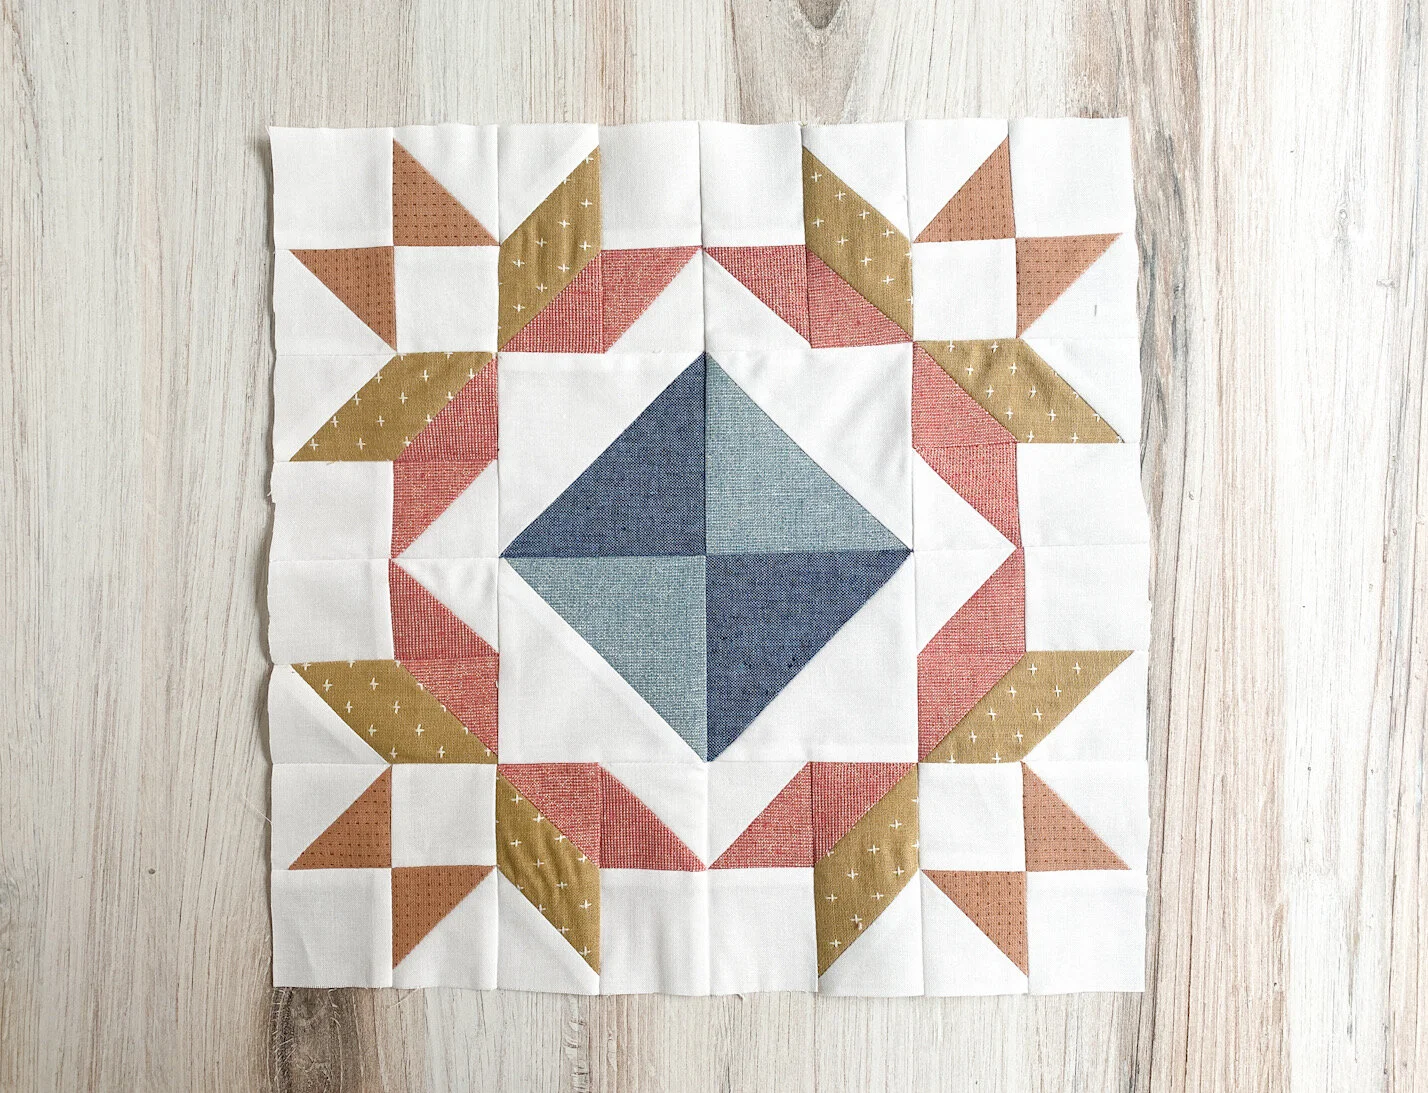
Summer Sampler 2021 ~ Providence
August 23, 2021
August 23, 2021
August 23, 2021
Summer Sampler 2021 ~ Modern Saw
August 23, 2021
August 23, 2021
August 13, 2021
Summer Sampler 2021 ~ Marigold
August 13, 2021
August 13, 2021
August 13, 2021
Summer Sampler 2021 ~ Cross Churn
August 13, 2021
August 13, 2021
August 1, 2021
Summer Sampler 2021 ~ Melted Melamine
August 1, 2021
August 1, 2021
July 24, 2021
Summer Sampler 2021 ~ Summer Breeze
July 24, 2021
July 24, 2021
July 18, 2021
Summer Sampler 2021 ~Sailors
July 18, 2021
July 18, 2021